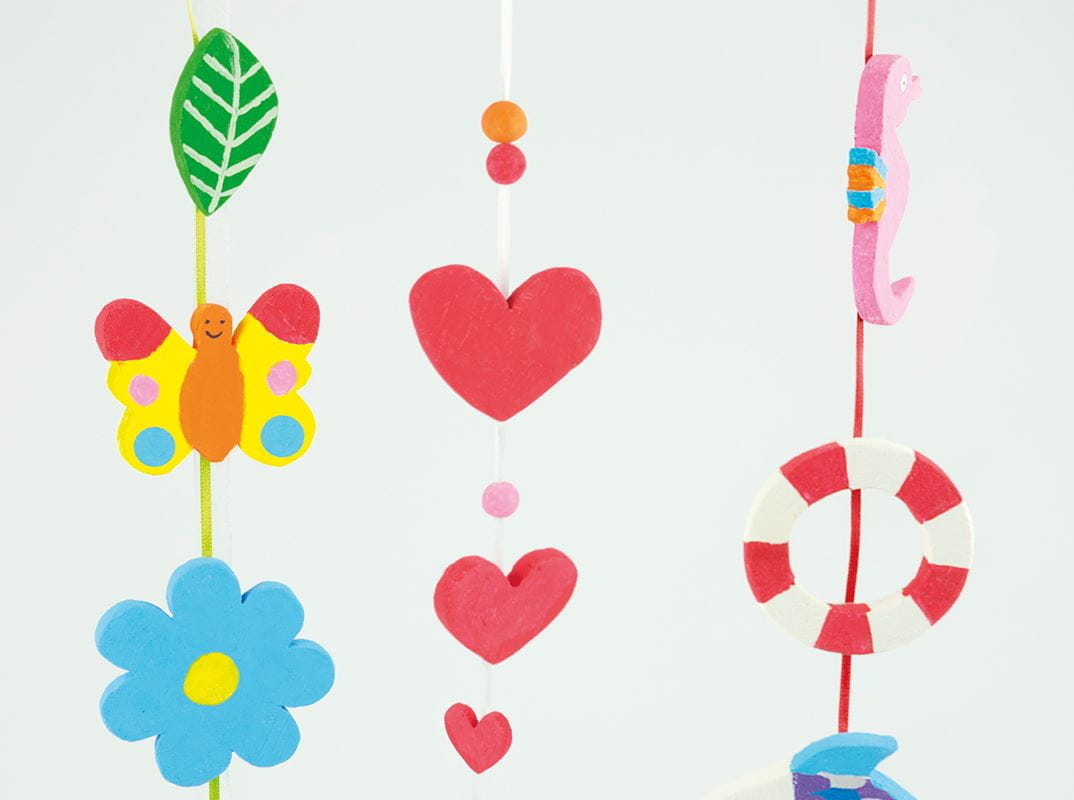
Crafting and modelling of light objects
Some things simply have to be light: for example, the decorations for the Christmas tree or the houses for the model railway. For small, fine objects, it is best to use an easily formable modelling clay that weighs very little. After all, the Christmas tree branches should not bend down sadly.
If you want to work out details of the modelling material, simply rummage through your kitchen drawers: With the help of forks, knives or cookie cutters you can set wonderful accents.
It can happen that the modelling clay sticks to the fingers. It is easier for you if you moisten your hands a little with water. However, it must not be too much, otherwise the clay can tear while drying.
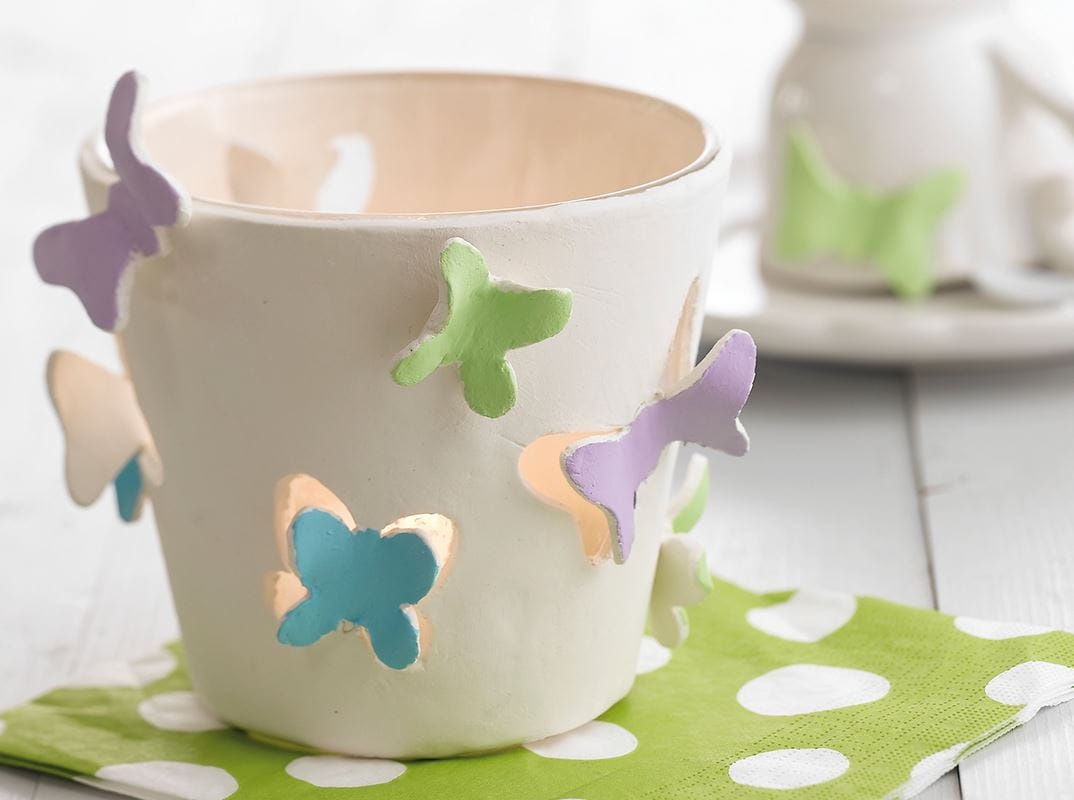
Modelling of larger objects
If you want to model a larger object, you need a more robust modelling material. Heavier objects are more stable; from a certain size the weight is therefore important. This modelling clay reminds a bit of potter clay. Unlike potter clay, this clay is air-drying. Depending on the size of the object, you should schedule at least 24 hours.
While crafting with modelling clay you also need a break from time to time. That's no problem: Just put wet towels on your creative project and wrap it in plastic foil. This prevents the modelling clay from hardening. Later you will be strengthened and continue with fresh ideas. Incidentally, the air-drying modelling clay doesn't blame you for "mistakes": Simply moisten parts that have already hardened with a little water and wait a little. This makes the modelling clay soft again and allows it to be reshaped.

Further processing of modelled objects
What is particularly nice about modelling is that it is not only about kneading and forming. You can also saw, sand and paint here! After modelling is before processing! If your object is well dried, you can smooth the surface first. This works fine with sandpaper or a file. In this process you can also correct unevennesses or small mistakes. If you want to put your energy into it, polish your object until it shines!
Afterwards it's time to paint! Acrylic or opaque paints are well suited for this. If you use water-soluble paints, you should also apply a paint coat to your object. This way you can enjoy your work of art for a long time!


